Bot Profile
Premium feature
The bot profile plugin requires Invite Tracker Premium.
The bot profile plugin lets you customize how the Invite Tracker bot (or your custom bot) appears in your server, with its own nickname, bio, avatar and banner. Use it to match the bot to your server's theme.
The changes only apply to your server: in every other server, the bot keeps its default profile.
Accessing Bot Profile Settings
- Navigate to your server's dashboard
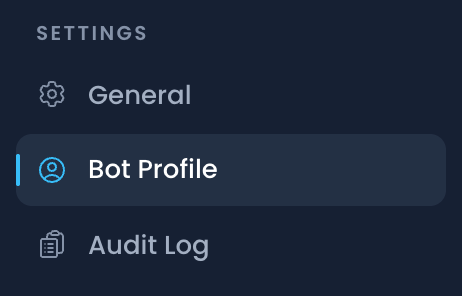
- Select Bot Profile in the sidebar, under the Settings section
- Customize the available options
Preview
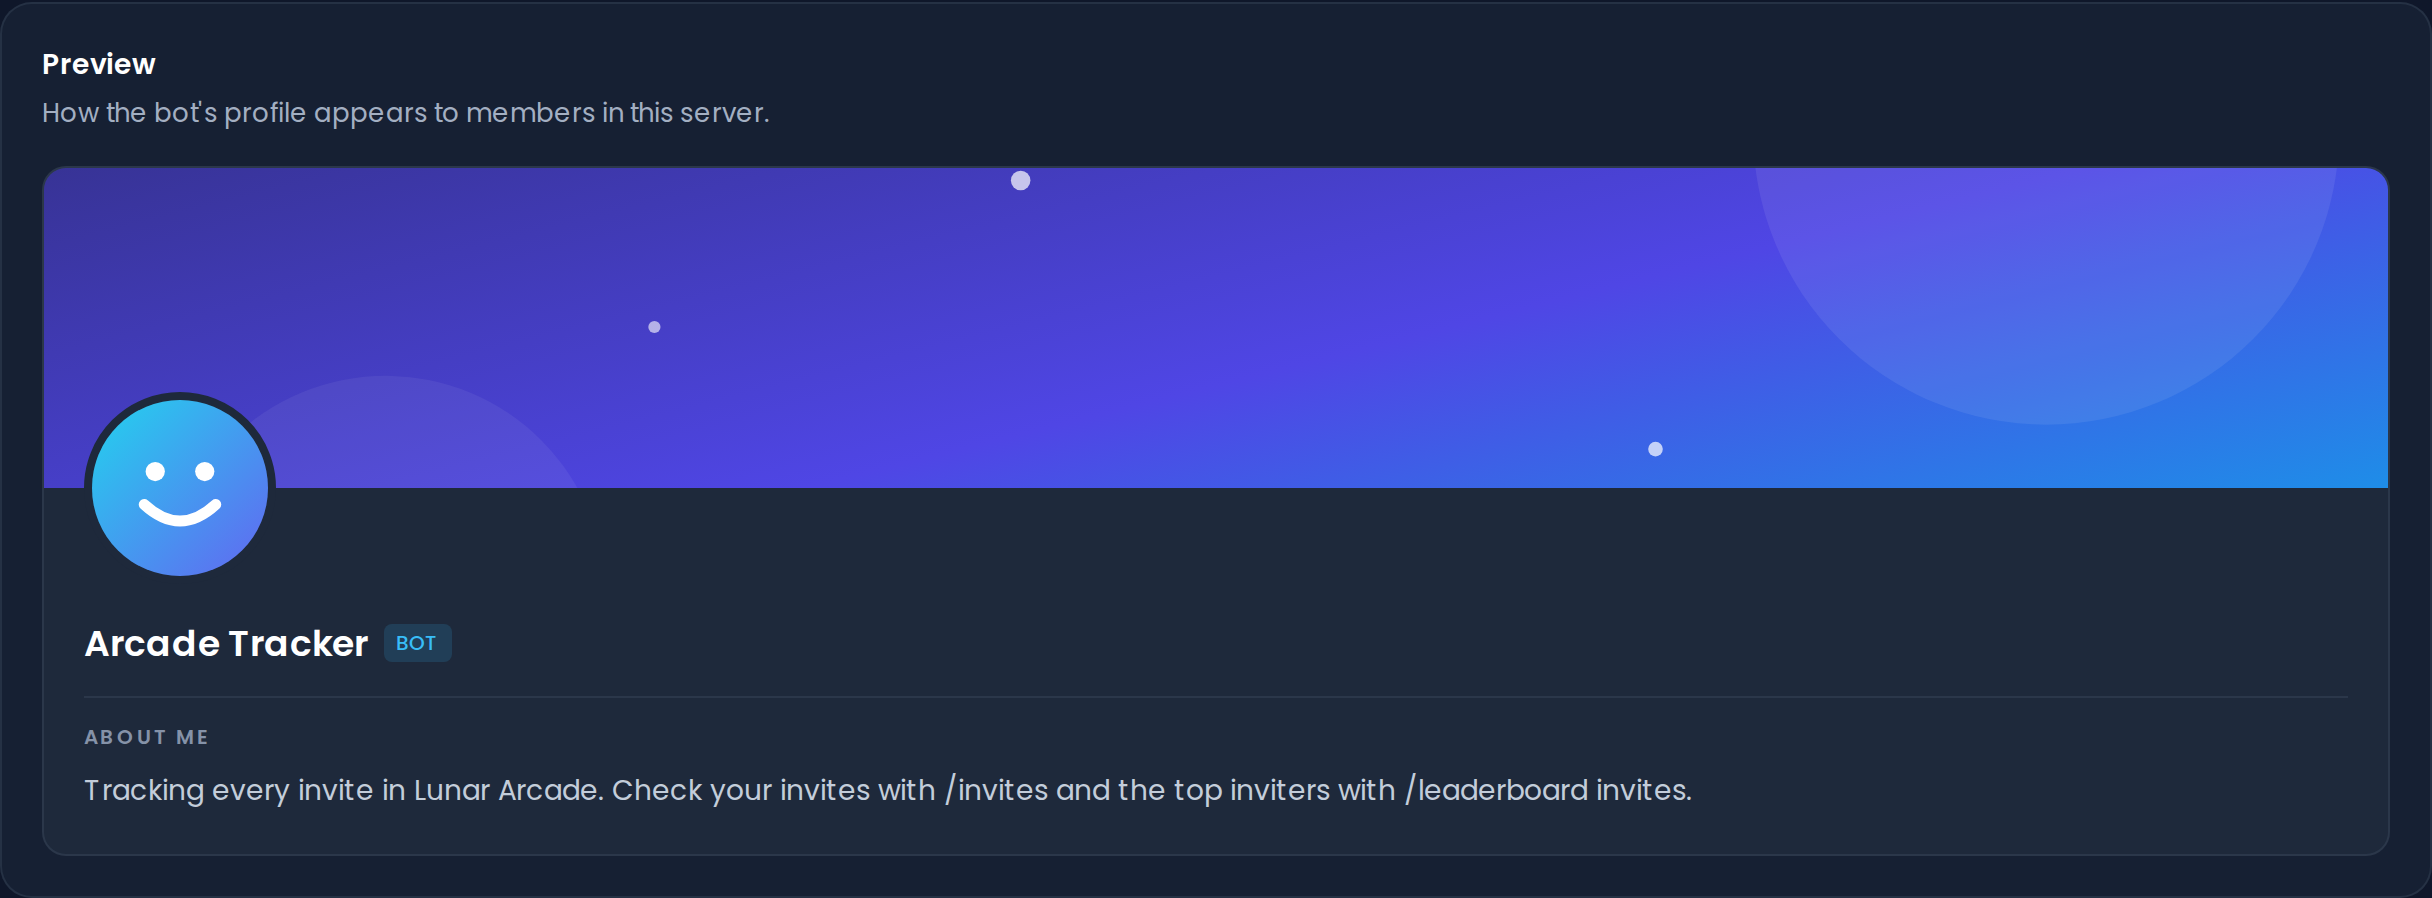
The Preview card at the top of the page shows how the bot's profile appears to members in your server, with your banner, avatar, nickname, and bio. It updates as you edit the settings below, so you can check the result before saving. You can also hover over the banner or avatar in the preview to change or remove them.
Customization Options
Nickname
Set a custom nickname for the bot in your server. The nickname can be up to 32 characters long and is shown in the member list, on the bot's messages and in mentions.

TIP
Choose a nickname that fits your server's theme while still being recognizable as your invite tracking bot.
Bio
Write a custom description for the bot that appears in its profile under About Me. The bio can be up to 180 characters and supports plain text only. For example, describe what the bot does in your server or point members to your rules or help channels.

Server Avatar
Upload a custom profile picture for the bot in your server. It is shown on the bot's profile, next to its messages and in the member list.
To set a custom avatar:
- Click Upload image next to the avatar preview
- Select a PNG, JPG, or GIF file from your device (up to 10MB)
- Check the result in the preview
- Click Save changes in the bar that appears at the bottom

INFO
The avatar should be a square image for best results. Recommended size is 512x512 pixels or larger.
Server Banner
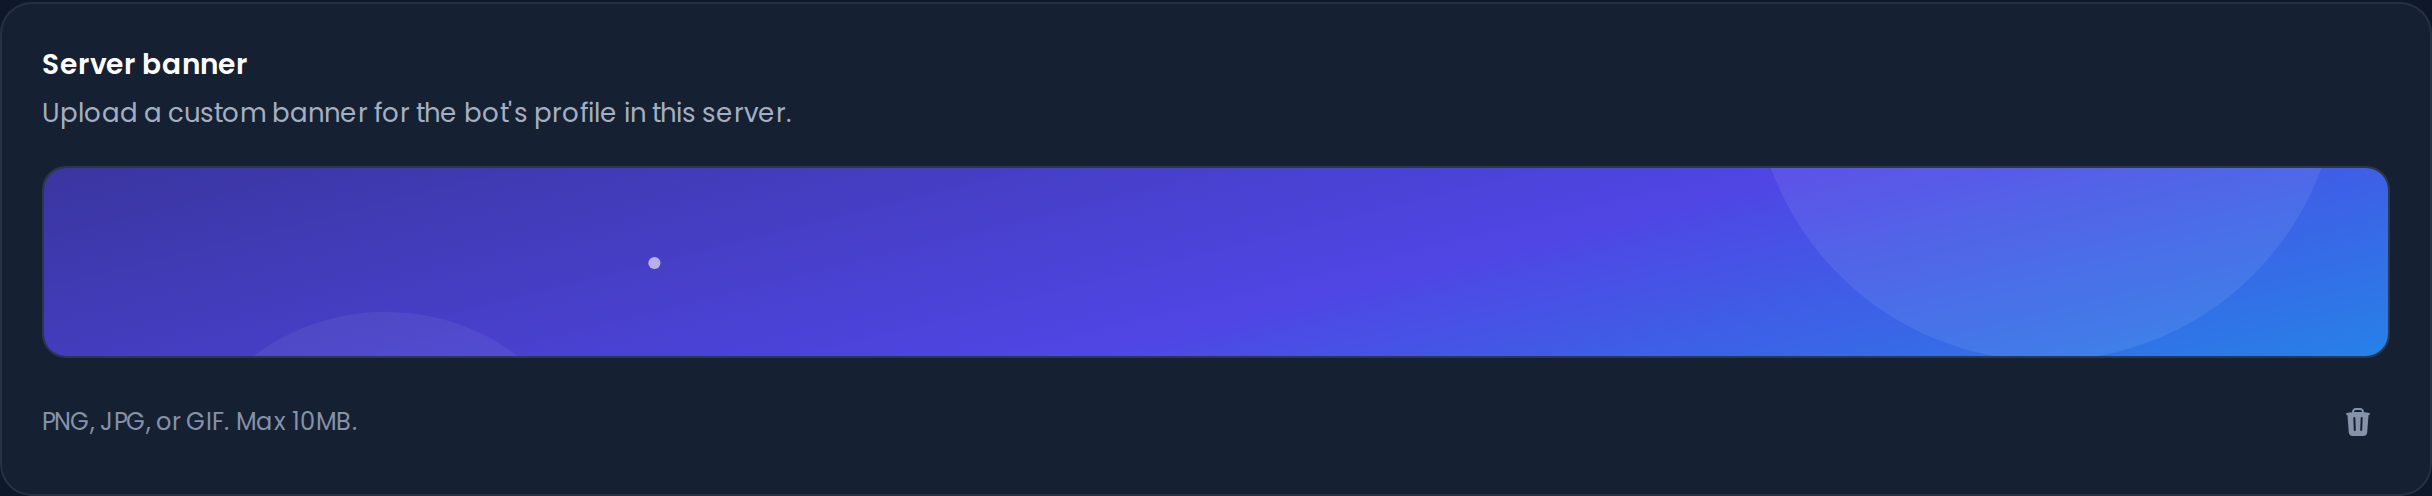
Set a custom banner image that appears at the top of the bot's profile popup in your server.
To set a custom banner:
- Click the banner area (hovering over it shows Upload, or Change once a banner is set)
- Select a PNG, JPG, or GIF file from your device (up to 10MB)
- Check the result in the preview
- Click Save changes in the bar that appears at the bottom
INFO
Banners are displayed in a wide format. A landscape image (for example with a 16:9 or wider aspect ratio) works best.
Removing Customizations
To remove a customization:
- Avatar or banner: click the trash icon next to it (or hover over it in the preview and click the remove button)
- Nickname or bio: clear the text field
Then click Save changes. The bot reverts to its default appearance for that setting.
Restoring the Saved Profile
Discord resets the bot's profile in your server when the bot is removed from it. Invite Tracker keeps your saved nickname, bio, avatar, and banner, and re-applies them automatically when the bot is added back.
If something is still missing afterwards, click Restore profile in the Restore saved profile setting to apply your saved profile again. The button is only available once you have saved a custom profile, and it can be used once every few minutes (a countdown is shown while you wait).

Custom Bot
With a Custom Bot, Invite Tracker runs on your own bot application. You can then also set the bot's global avatar and username in the Discord Developer Portal, and choose its embed color, status and activity on the dashboard.
TIP
Use high-quality images, as low-resolution ones may appear blurry. After saving, open the bot's profile in your server to check that everything looks right. Changes may take a few moments to show up across Discord, so if you don't see them right away, wait a minute and refresh.